The etching process.
Etching a piece is truly a labor of love. This short video offers a glimpse into the intricate, multi-step process behind each work.
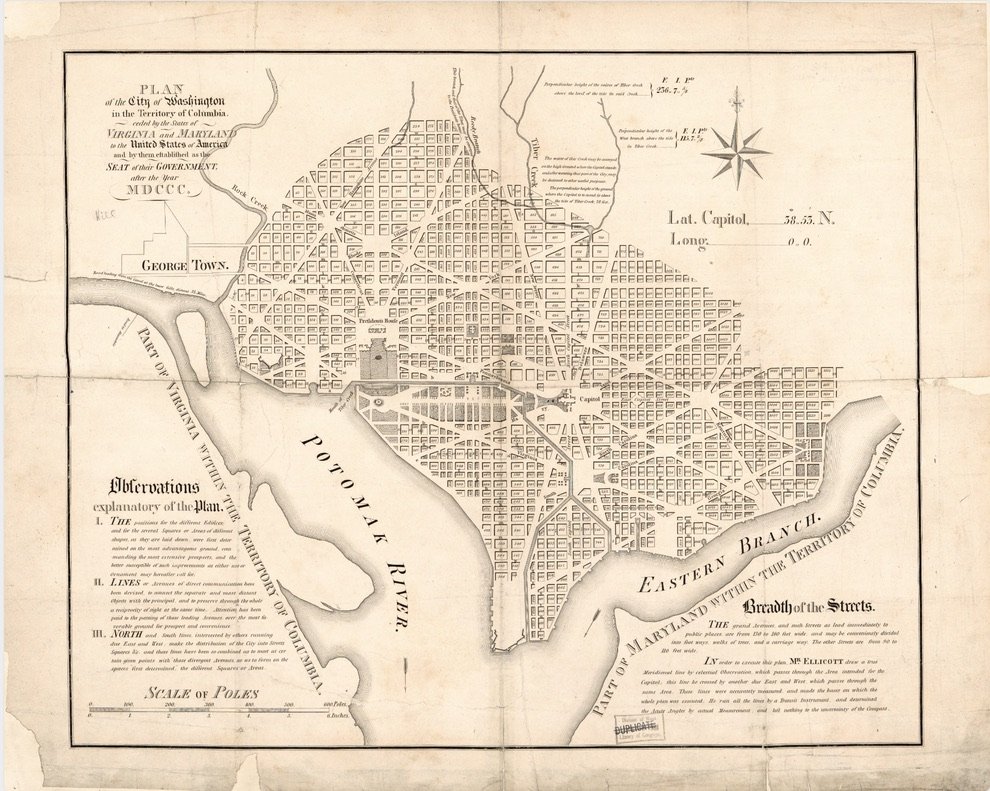
It begins with research—one of my favorite parts. I source historic images and maps from the Library of Congress, often sifting through materials that are centuries old and worn with time. Once selected, the image must be carefully restored, cleaned, and cropped.

Next, the image is printed onto transfer paper using laser jet ink. This particular ink serves as a resist, protecting parts of the metal from the acid used in etching.
With the help of heat and pressure, the ink is transferred onto the metal sheet. The back of the sheet is sealed with tape to prevent the acid from eroding unwanted areas.


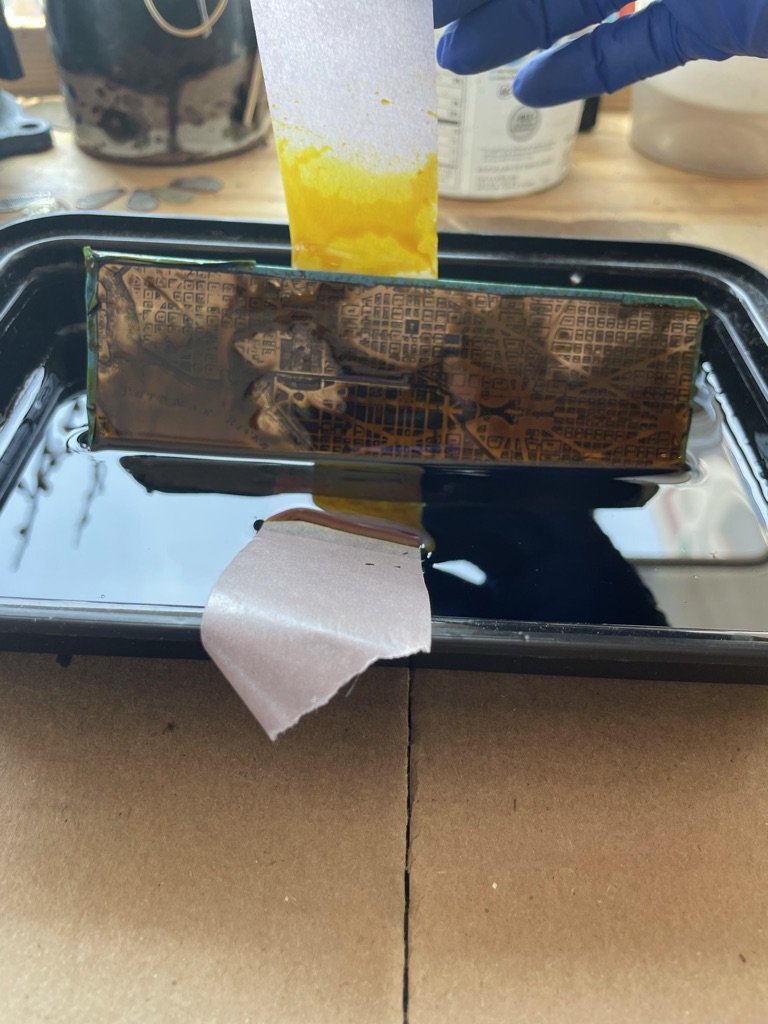

The metal is then submerged in a solution of acids and salts that slowly bite into the exposed areas, creating the raised and recessed textures that bring the image to life.

Once the etching is complete, the metal is neutralized with baking soda. The tape is peeled away, and the ink resist is removed using acetone.
The piece is now ready for patination. This step enhances depth and contrast by darkening the recessed areas. Multiple layers may be applied to achieve the desired richness.
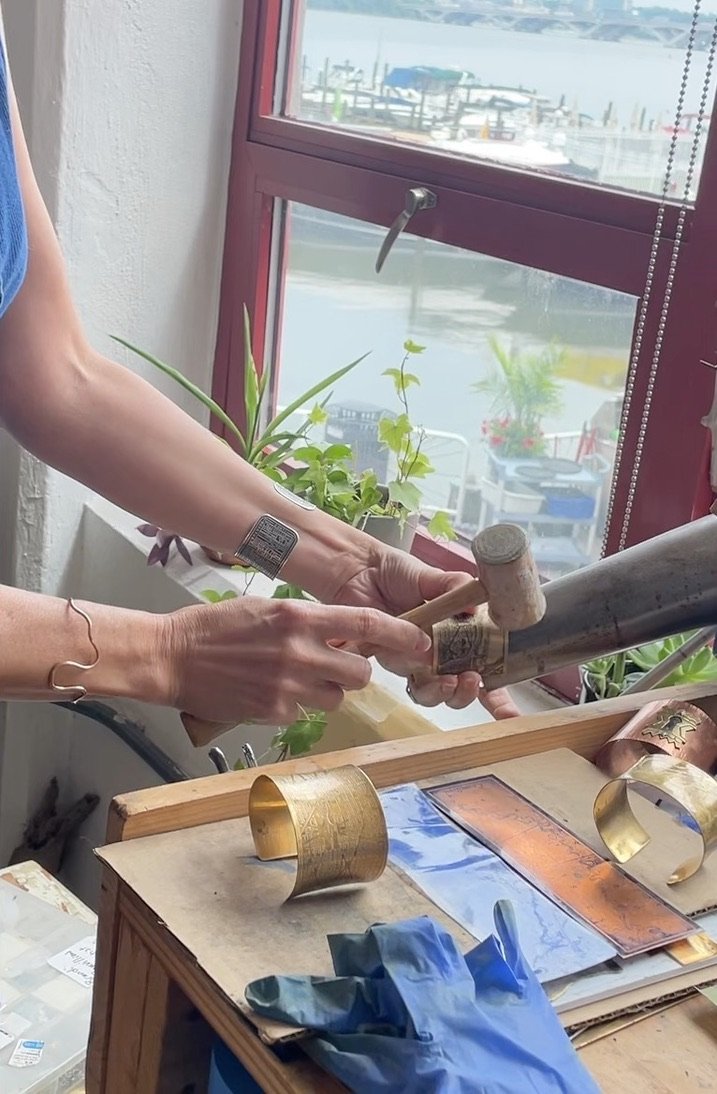
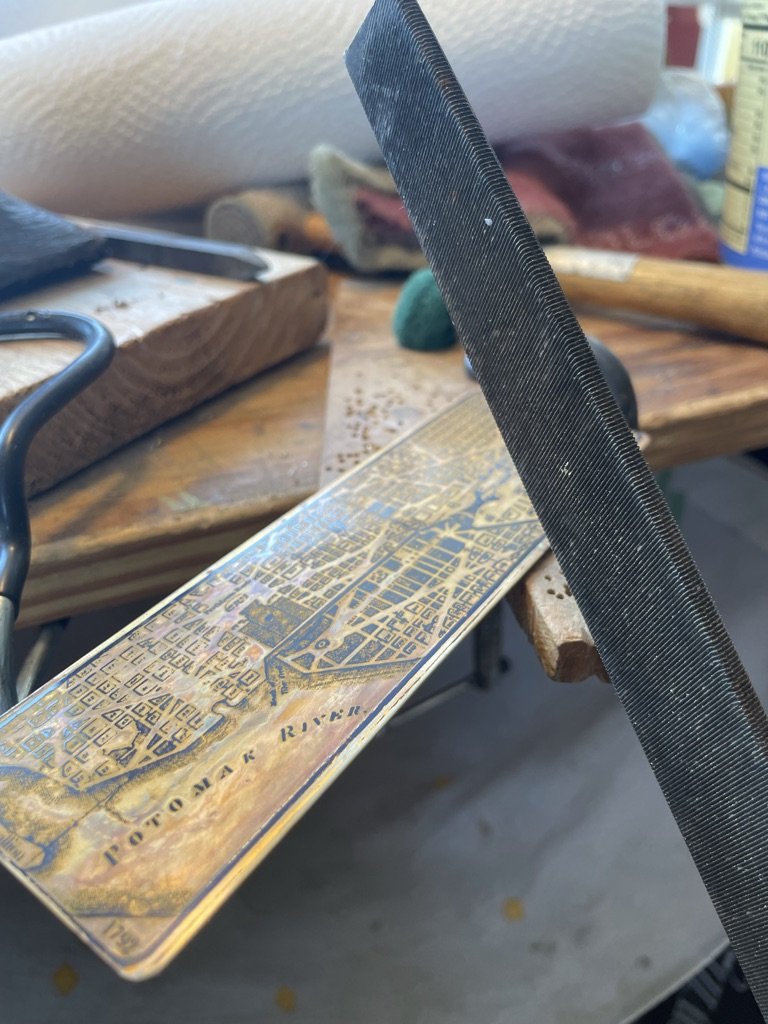
Finally, the piece is cut, sanded, filed, and hammer-formed by hand. The last step: a meticulous polish that brings the surface to a shine.